How to Fix Overwatered Plants
Overwatering is the #1 houseplant killer — even for well-meaning gardeners who shower their plants with love. If you’re wondering how to fix overwatered plants, you’re not alone in this common gardening challenge. Learning to spot the early plant root rot signs and understanding the recovery process can save your green friends from an early demise. This beginner-friendly guide walks you through a simple, step-by-step method for reviving overwatered plant situations and preventing future watering disasters. With the right approach, even severely waterlogged plants can make a full recovery.
Recognizing Overwatering Symptoms ⚠️
Before learning how to fix overwatered plants, you must identify the warning signs early. Overwatered plants display several telltale symptoms that distinguish them from other plant problems, and recognizing these signs quickly can mean the difference between plant recovery and plant loss.
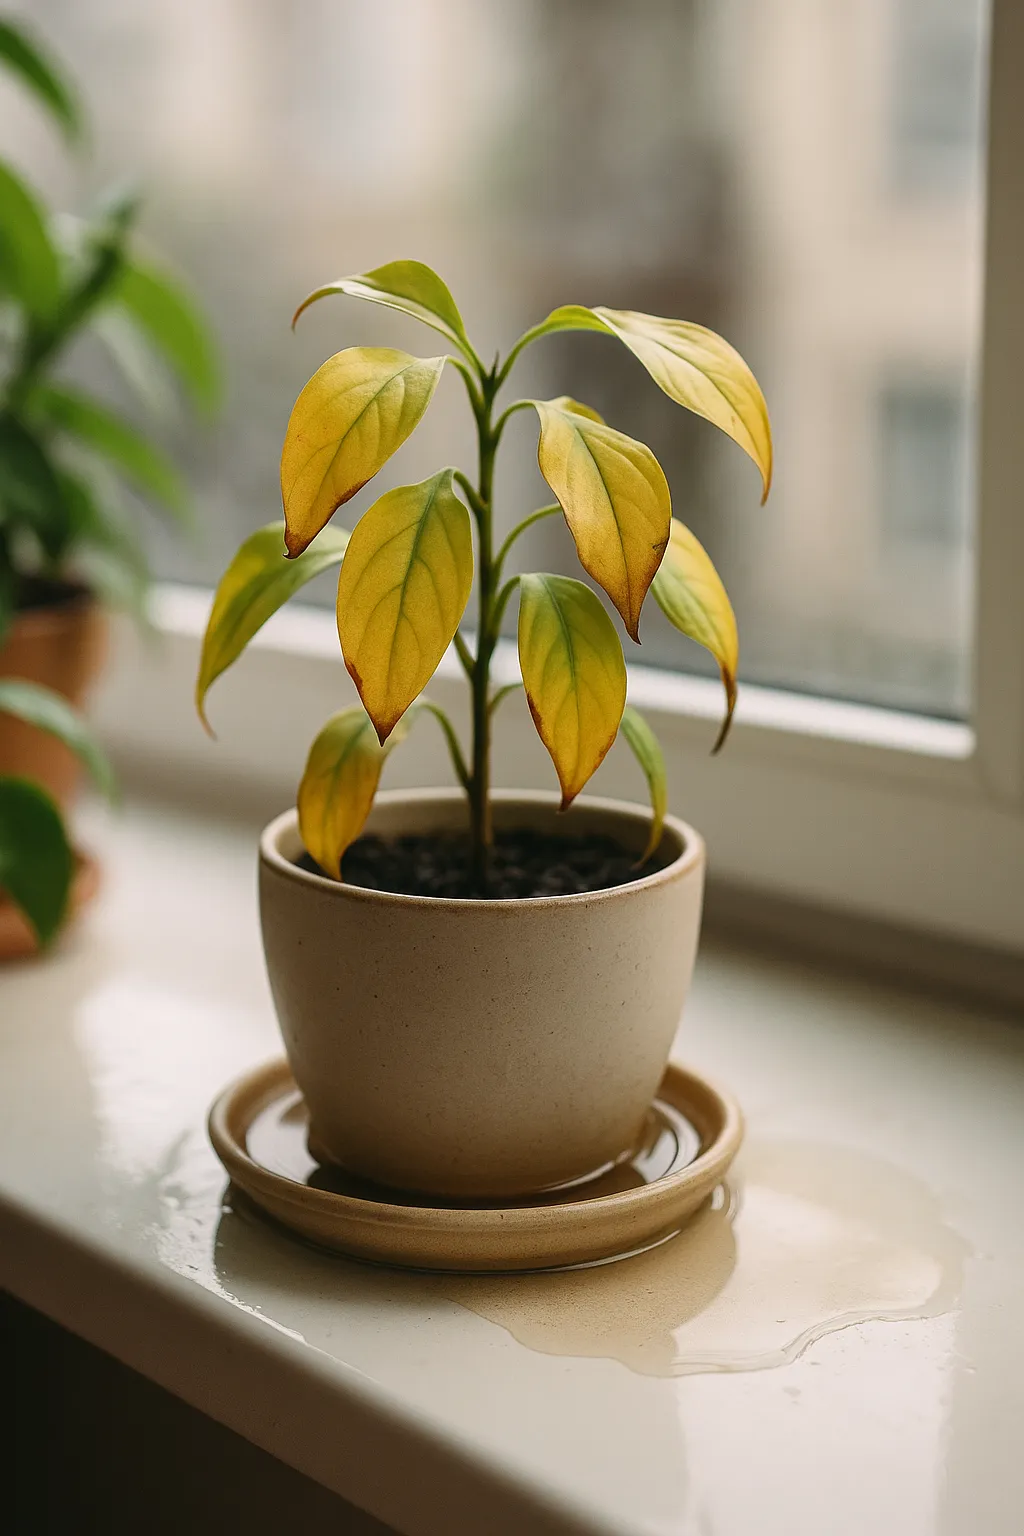
Yellowing leaves starting from the bottom and working upward indicate root stress from excess moisture. Unlike natural aging where only the oldest leaves yellow, overwatering causes widespread yellowing that progresses rapidly up the plant. Soft, mushy stems signal that plant tissues are breaking down from too much water, making the plant structurally weak and prone to collapse.
Foul odor from the soil suggests bacterial growth and root rot — healthy soil should smell earthy and fresh, not sour or rotten. Fungal growth on soil surface appears as white, fuzzy patches or green mold, indicating consistently wet conditions that promote harmful microorganisms. Wilting despite wet soil occurs when damaged roots can’t absorb nutrients properly, creating the paradox of a thirsty plant sitting in soggy soil.
Additional symptoms include leaf drop without yellowing, brown leaf tips despite adequate humidity, and slow or stunted growth as the plant’s energy goes toward surviving rather than thriving.
🪴 Tip: Less water doesn’t always mean less care — monitor moisture, not the calendar!
Overwatering Symptoms Checklist 📋
| Symptom | What It Means | Urgency Level |
|---|---|---|
| Yellow leaves (bottom-up) | Root stress from excess water | Medium |
| Soft, mushy stems | Tissue breakdown | High |
| Foul soil odor | Bacterial growth, root rot | High |
| Fungal growth on soil | Excess moisture, poor drainage | Medium |
| Wilting with wet soil | Root damage preventing uptake | High |
| Brown, slimy roots | Advanced root rot | Critical |
Emergency Recovery Steps 🌱
When you discover an overwatered plant, immediate action is crucial for soil moisture control and plant survival. The sooner you act, the better your chances of successful recovery:
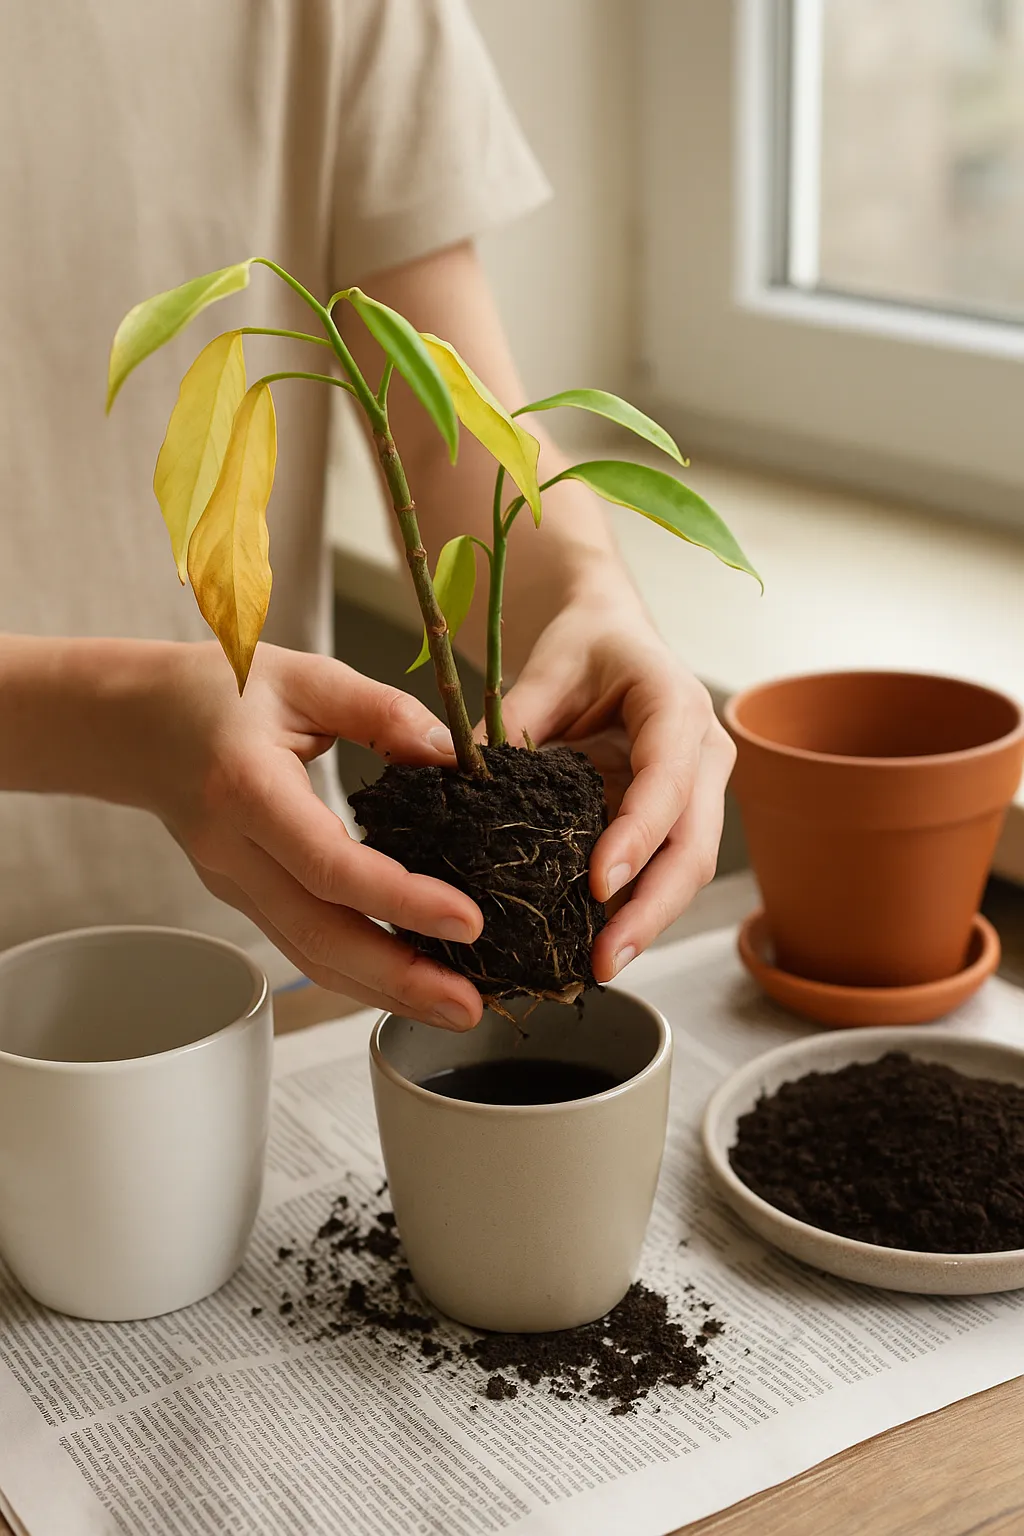
Step 1: Stop watering immediately and remove the plant from its current location to prevent further damage. Move it away from other plants to avoid spreading any potential fungal issues.
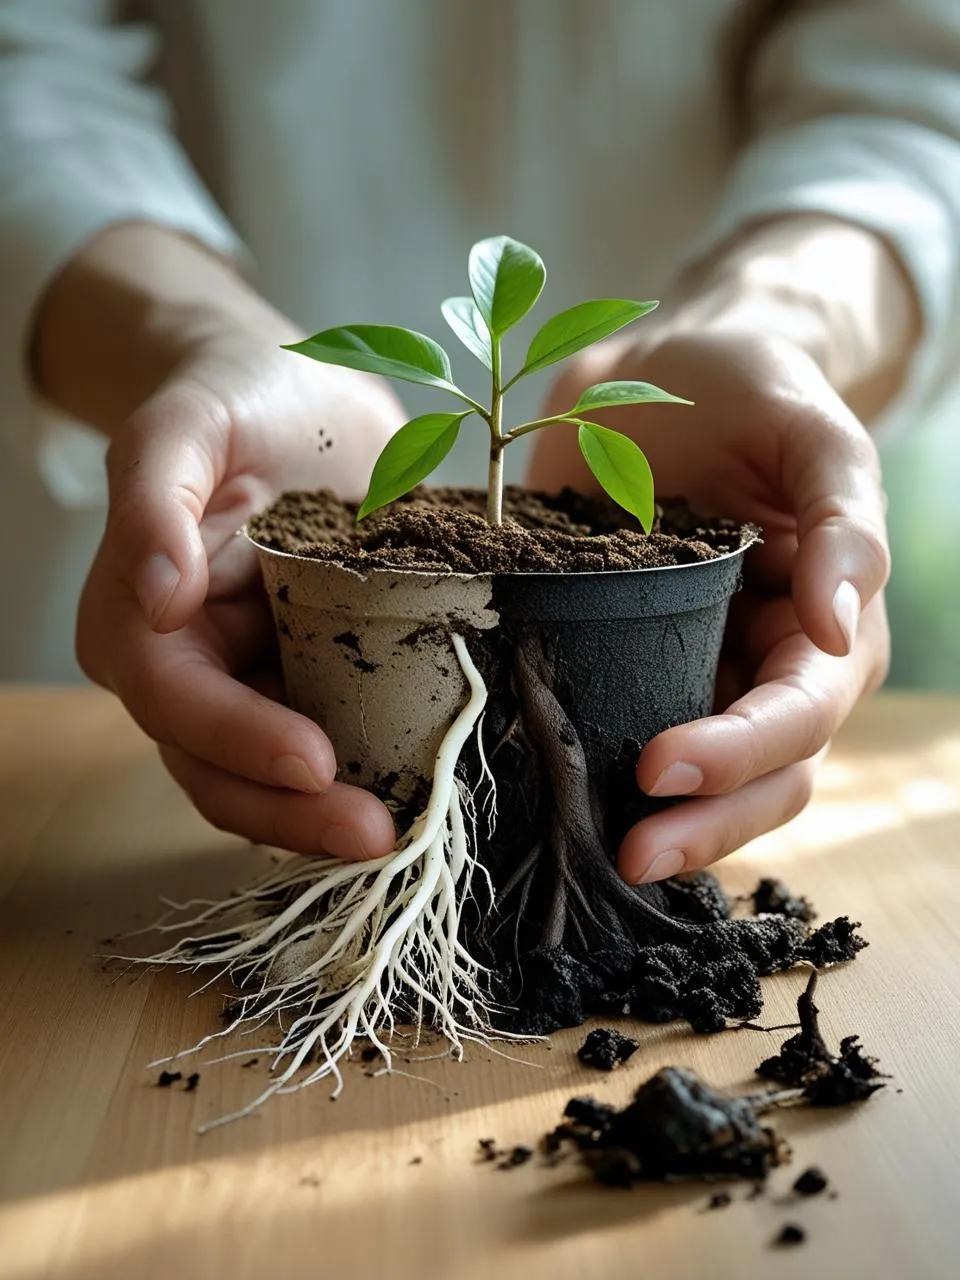
Step 2: Remove from pot carefully to inspect the root system and assess the damage level. Gently shake off excess soil to get a clear view of the root condition.
Step 3: Trim rotted roots using clean, sharp scissors or pruning shears, cutting away any brown, black, or mushy roots. Sterilize your tools between cuts to prevent spreading disease. Healthy roots should be white or cream-colored and firm to the touch.
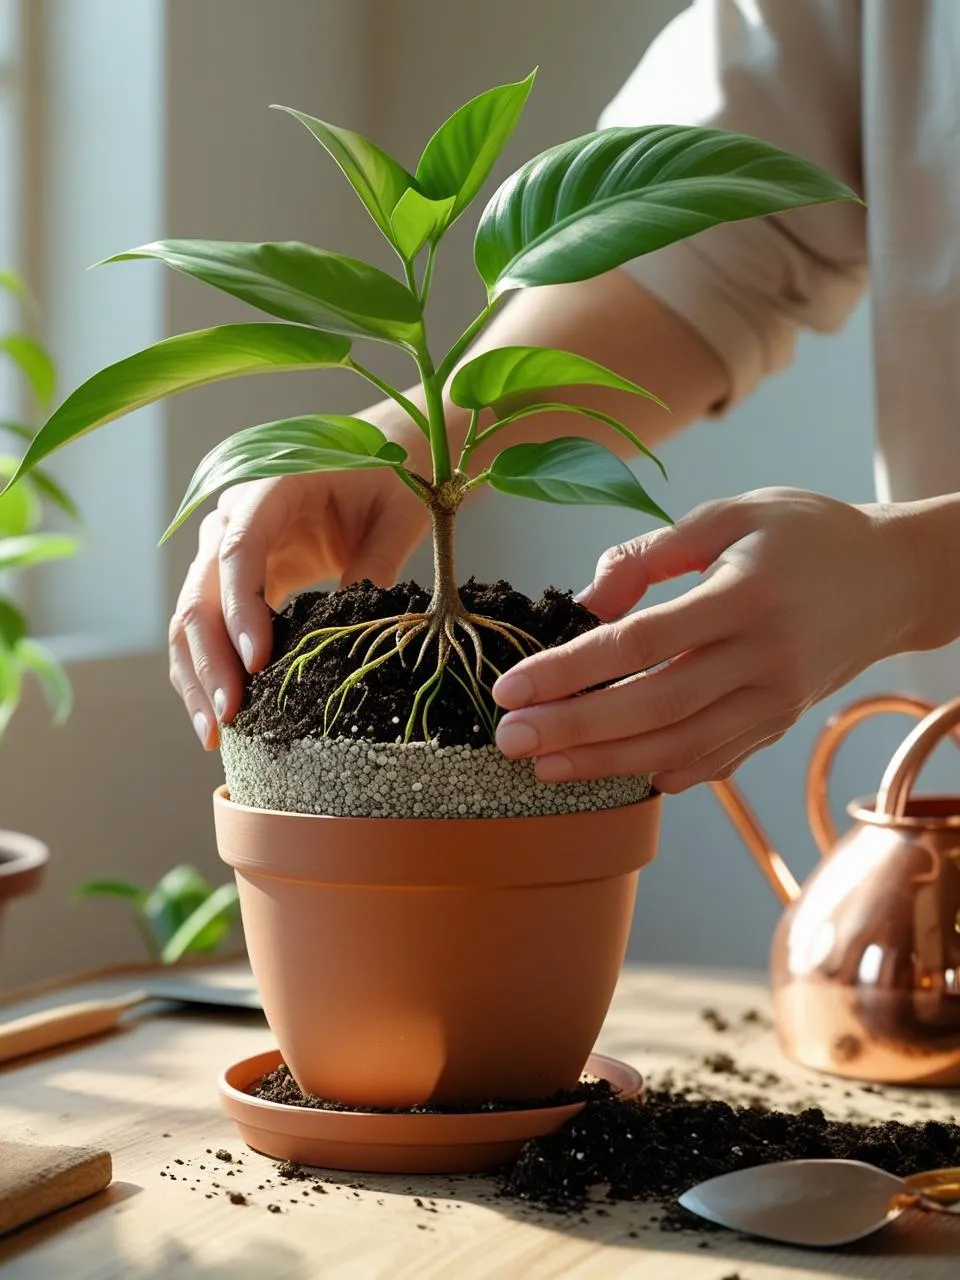
Step 4: Repot with fresh, well-draining soil in a container with proper drainage holes. Choose a pot that’s slightly smaller than the original if you’ve removed many roots, as the plant now has less root mass to support.
Step 5: Place in bright, indirect light and avoid fertilizing until new growth appears. The plant needs to focus its energy on root recovery rather than leaf production.
Step 6: Monitor closely for the first few weeks, watching for signs of new growth or continued decline. Be patient — recovery can take several weeks to months depending on the severity of the damage.
⚠️ Root rot spreads fast — act as soon as symptoms appear!
Recovery Action Plan 📋
| Recovery Stage | Action Required | Timeline |
|---|---|---|
| Immediate (Day 1) | Remove from pot, inspect roots | 1-2 hours |
| Day 1-2 | Trim rotted roots, repot | Same day |
| Week 1-2 | Monitor closely, no watering | 7-14 days |
| Week 2-4 | Resume light watering when soil dries | 14-28 days |
| Month 2+ | Return to normal care routine | 30+ days |
Prevention is Key 🪴
Learning how to help drowning plant situations is important, but preventing overwatering is even better for long-term plant health:
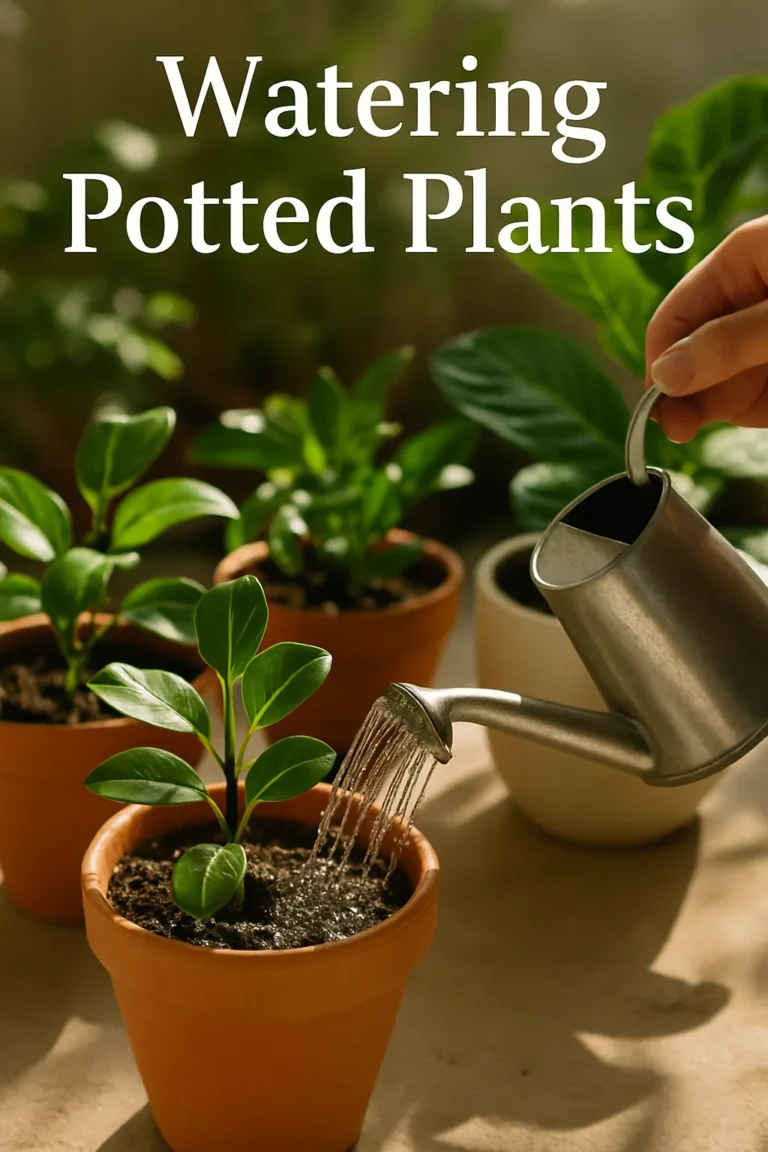
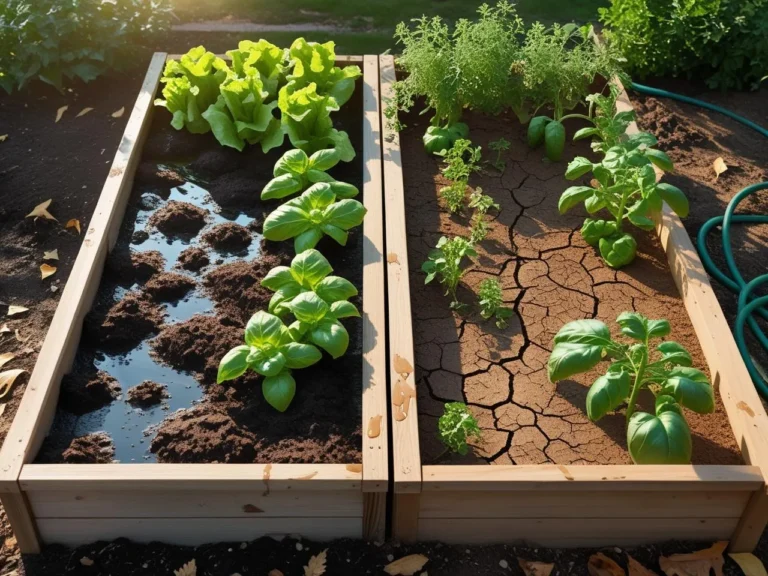
Use proper drainage by ensuring all pots have drainage holes and adding pebbles, broken pottery, or activated charcoal to the bottom. This creates a reservoir that prevents water from sitting directly around the roots. Check soil moisture by inserting your finger 1-2 inches deep — only water when the top layer feels dry. For deeper pots, consider using a moisture meter for more accurate readings.
Adjust watering seasonally since plants need significantly less water during winter months when growth slows and daylight hours decrease. Most houseplants enter a dormant or semi-dormant state during winter, requiring water only when the soil becomes quite dry.
Choose appropriate soil by using well-draining potting mix designed for your specific plant types. Succulents need sandy, fast-draining soil, while tropical plants prefer moisture-retentive but well-draining mixes. Monitor environmental factors like humidity, temperature, and light levels that affect water needs — plants in bright, warm, dry conditions need more frequent watering than those in cool, humid, low-light environments.
Develop a routine that focuses on plant observation rather than calendar scheduling. Learn to read your plants’ individual signals and adjust care accordingly. Use appropriate pot sizes — oversized pots hold excess moisture and increase the risk of overwatering.
📌 Proper drainage saves your plant — always check pot holes!
Conclusion
Learning how to fix overwatered plants is an essential skill for any plant parent, but it’s equally important to understand that prevention and early intervention are your best tools for plant success. By recognizing the early warning signs, taking immediate action to address root rot, and implementing proper soil moisture control practices, you can save even severely damaged plants from what might seem like certain death.
Remember that recovery takes time — be patient and consistent with your care routine while your plant rebuilds its root system and regains its strength. Some plants may take weeks or even months to show signs of new growth, but don’t give up hope. The key to preventing future overwatering lies in understanding your plants’ individual needs, observing their responses to different conditions, and checking soil moisture rather than following rigid watering schedules.
Every plant is different, and factors like pot size, soil type, humidity, temperature, and light levels all influence watering needs. As you gain experience, you’ll develop an intuitive sense for when your plants need water and when they’re perfectly content with their current moisture level. This skill comes with time and practice, so don’t be discouraged if you make mistakes along the way.
With these techniques and a commitment to careful observation, you’ll develop the confidence to keep your plants healthy and thriving for years to come. Remember that even experienced gardeners occasionally overwater their plants — the difference is knowing how to recognize the problem early and take swift corrective action.
🌱 Recovery takes patience — trust the process and your plant will thank you!