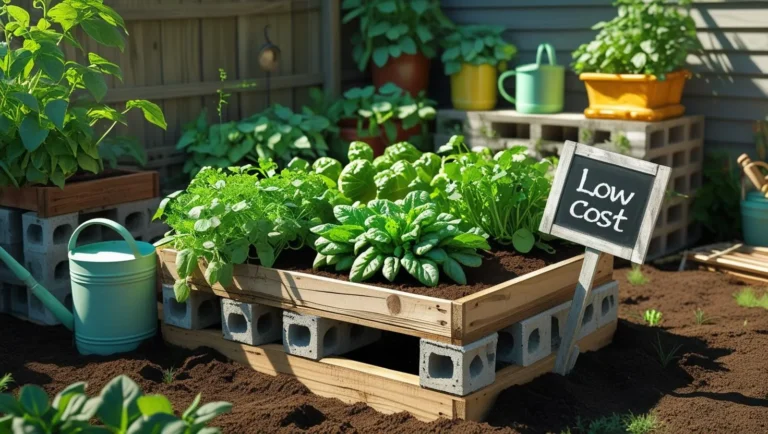
Build a Raised Garden Bed
Introduction 🌱
Ready to elevate your gardening game? If you want to build a raised garden bed, you’ve come to the right place! This simple DIY project is a game-changer for any backyard, offering better soil drainage, fewer weeds, and less strain on your back. It’s the perfect entry point for beginners and a smart solution for small or urban spaces.
This guide will walk you through everything you need to know, from materials to the final planting. Let’s dig in and create your very own backyard raised planter!
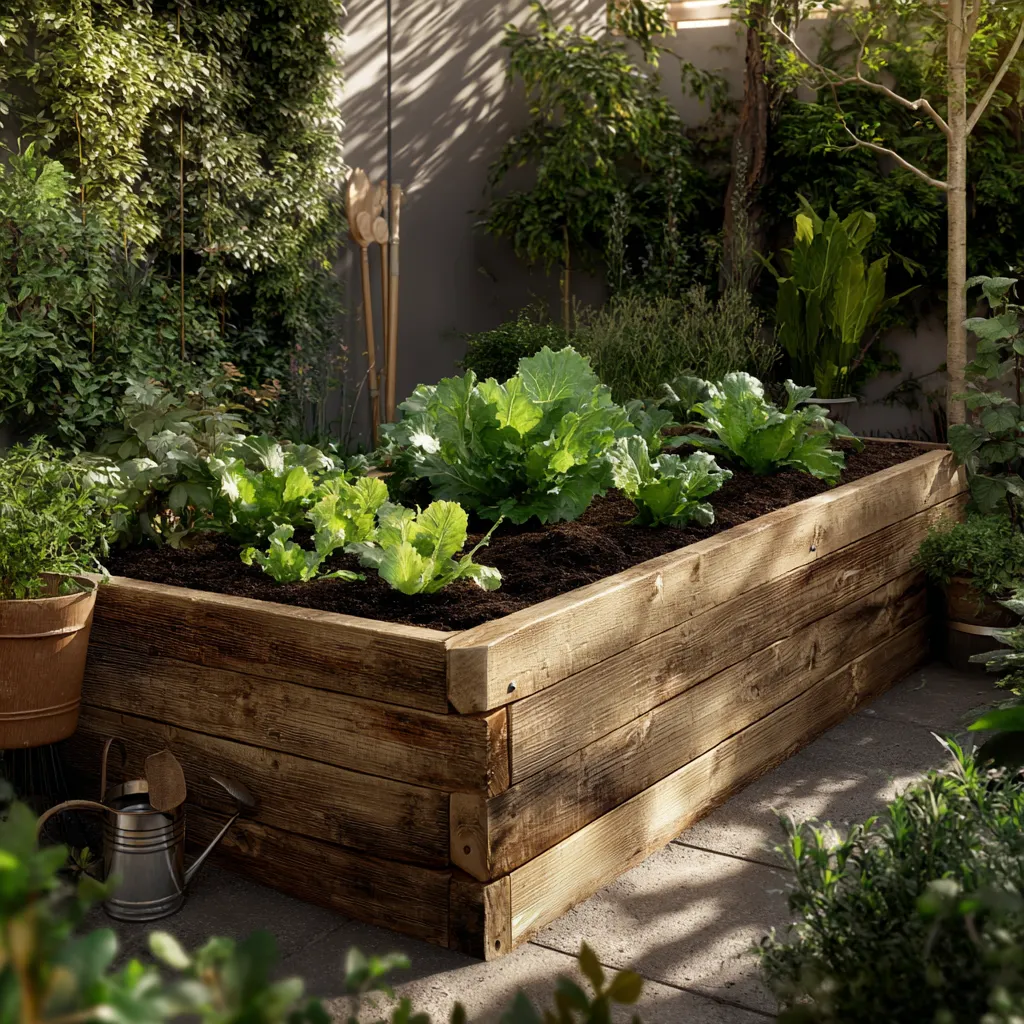
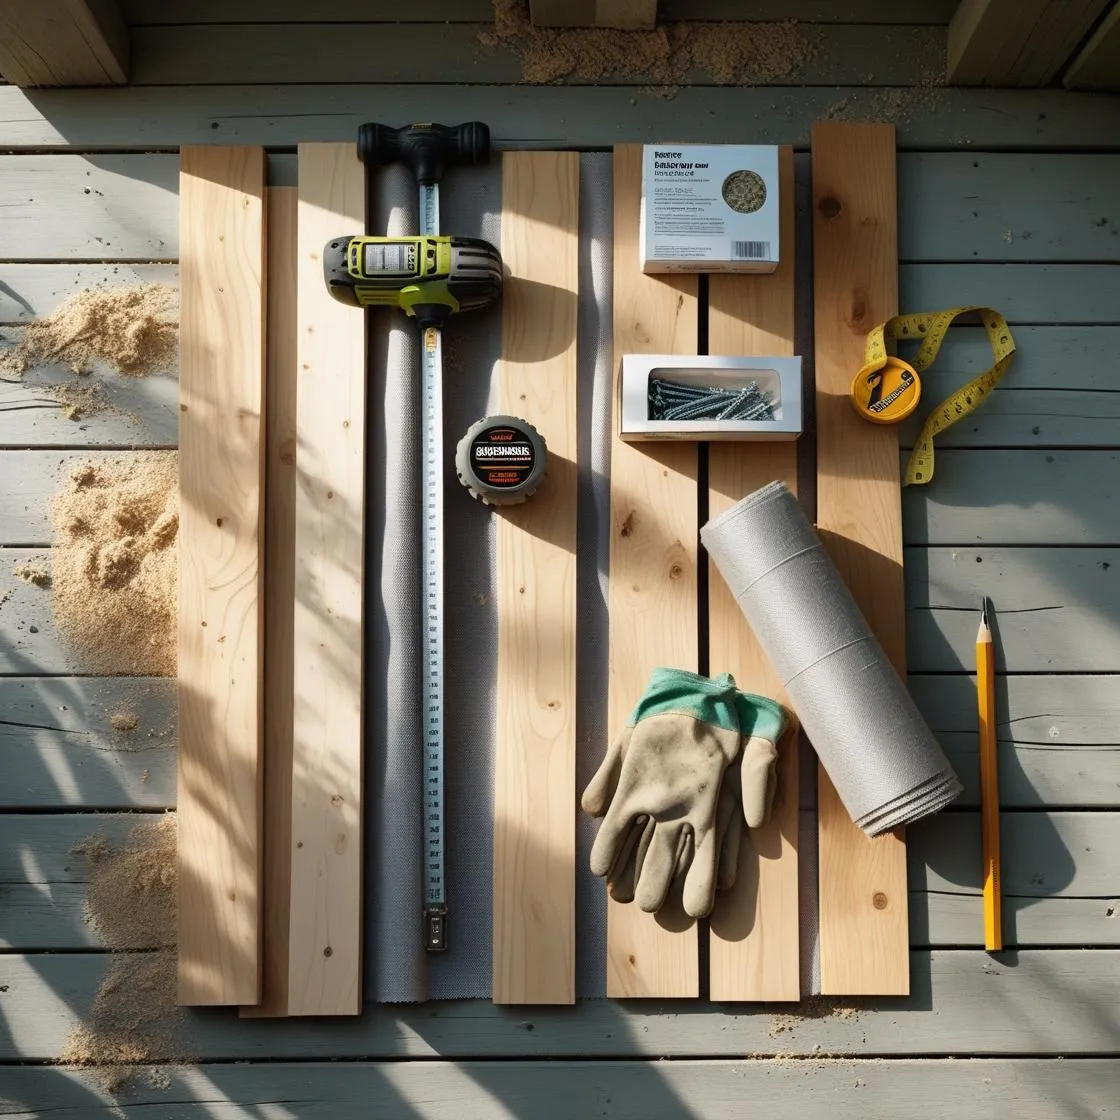
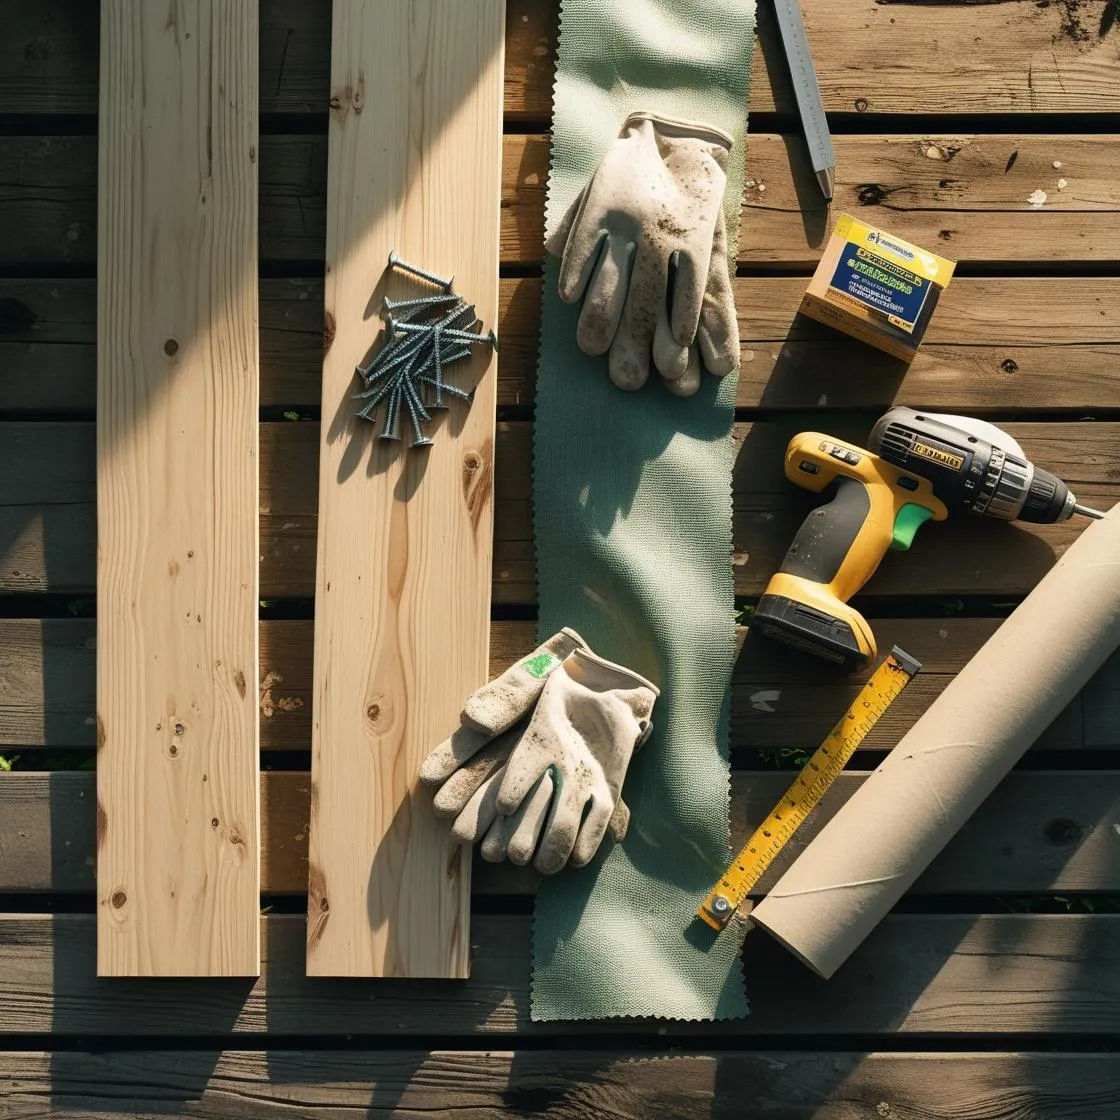
Table: Materials You’ll Need 🧰
| Item | Purpose |
| Wooden boards (cedar) | Frame of the bed |
| Screws or corner kits | Holding sides together |
| Drill or screwdriver | Assembling the bed |
| Landscape fabric | Weed barrier at the base |
| Soil mix | Rich planting medium |
| Tape measure & level | Accuracy and balance |
📌 Tip: Always measure twice, cut once!
Choose the Perfect Spot ☀️
Location is everything! Before you start your DIY garden bed, find a spot that meets these criteria:
- Full Sun: Most vegetables need 6–8 hours of direct sunlight per day.
- Water Access: Position your bed near a hose or spigot for easy watering.
- Level Ground: A flat surface makes assembly much easier and ensures even water distribution.
- Avoid Roots: Steer clear of large tree roots that can steal nutrients from your plants.
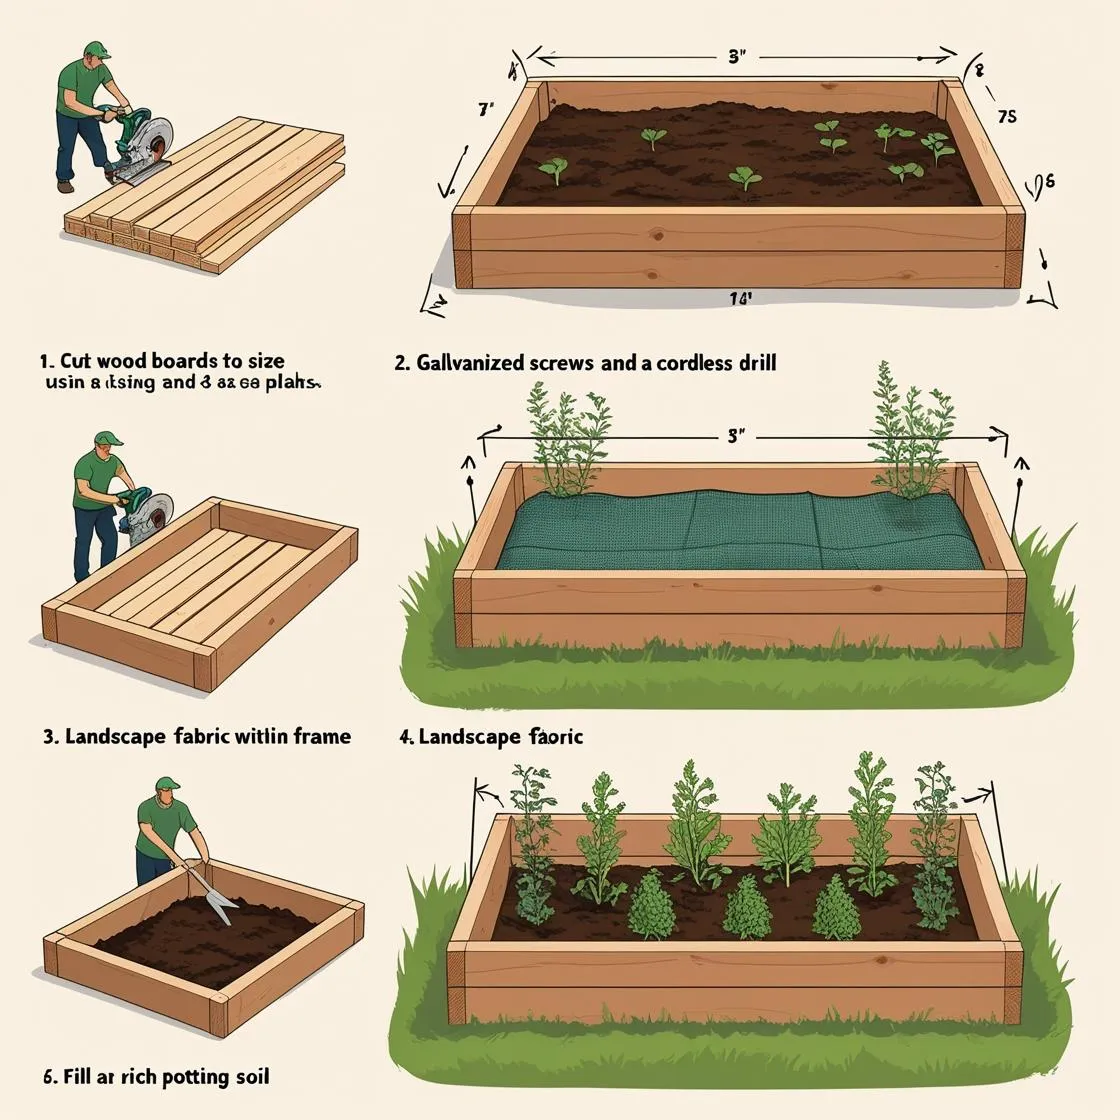
How to Build a Raised Bed: Step-by-Step 🛠️
Here’s a simple, five-step process to get your raised bed gardening journey started.
- Cut Your Wood: Measure and cut your boards. A common size is 4×8 feet, using two 8-foot boards and two 4-foot boards. A depth of 12 inches is ideal.
- Assemble the Frame: Join the corners of your boards. Use at least three durable exterior screws per corner or use a raised bed corner kit for a super simple assembly.
- Position and Prepare: Place your assembled frame in its chosen spot. Use a level to ensure it’s balanced. Lay down a layer of cardboard or landscape fabric at the bottom to suppress weeds.
- Fill with Soil: This is the most important part! A great garden bed soil mix is key. We recommend a blend of 60% high-quality topsoil, 30% compost, and 10% perlite for aeration.
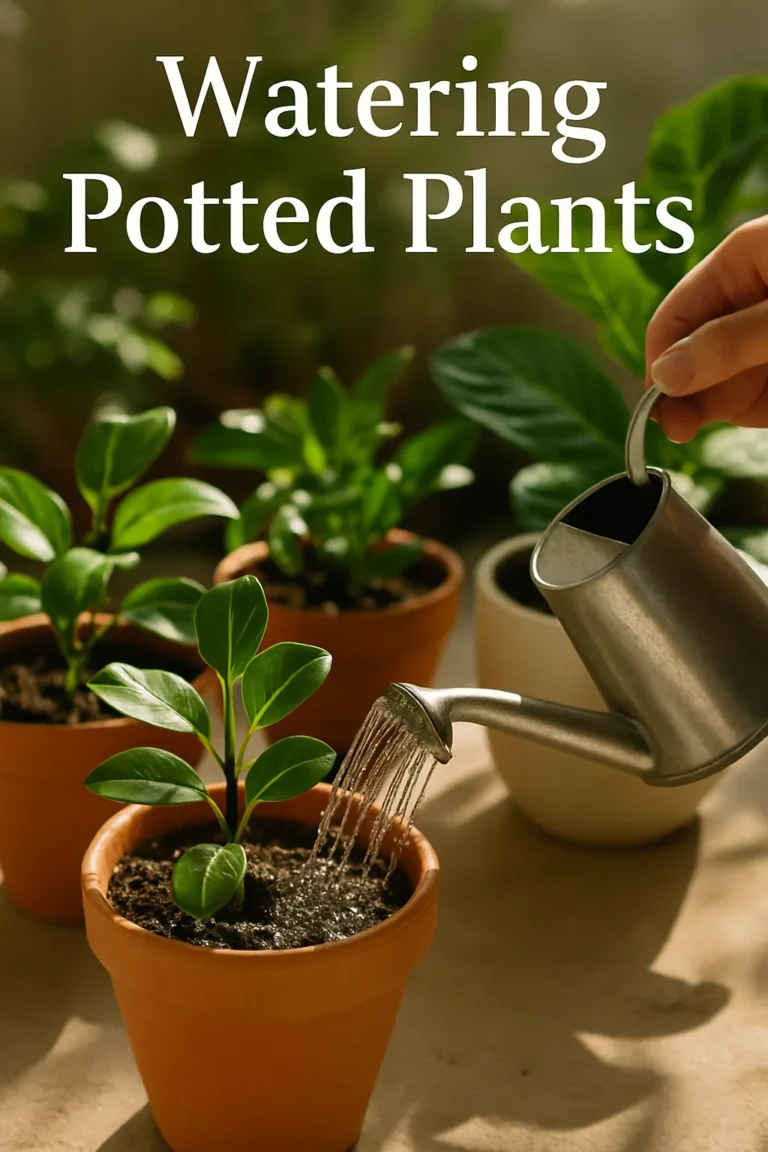
- Water Well: Once filled, give the soil a deep, thorough watering to help it settle. Now you’re ready to plant!
🛠️ Pro Tip: Use untreated wood like cedar or redwood to avoid chemical leaching into your food plants.
Pros & Cons of Raised Bed Gardening 🌿
| Pros | Cons |
| Better drainage | More effort to build |
| Fewer weeds | Can dry out faster |
| Easier to manage | Initial setup cost |
| Less bending = back relief | May need replacing over years |
Care & Maintenance Tips 🧽
To keep your raised bed thriving season after season:
- Add Mulch: A layer of straw or wood chips on top helps retain moisture.
- Top Up Soil: Amend your soil with fresh compost at the start of each planting season.
- Manage Pests: Use row covers to protect young plants from common garden pests.
- Rotate Crops: Avoid planting the same family of plants in the same spot year after year.
🧪 Soil Hack: Add worm castings for a nutrient boost!
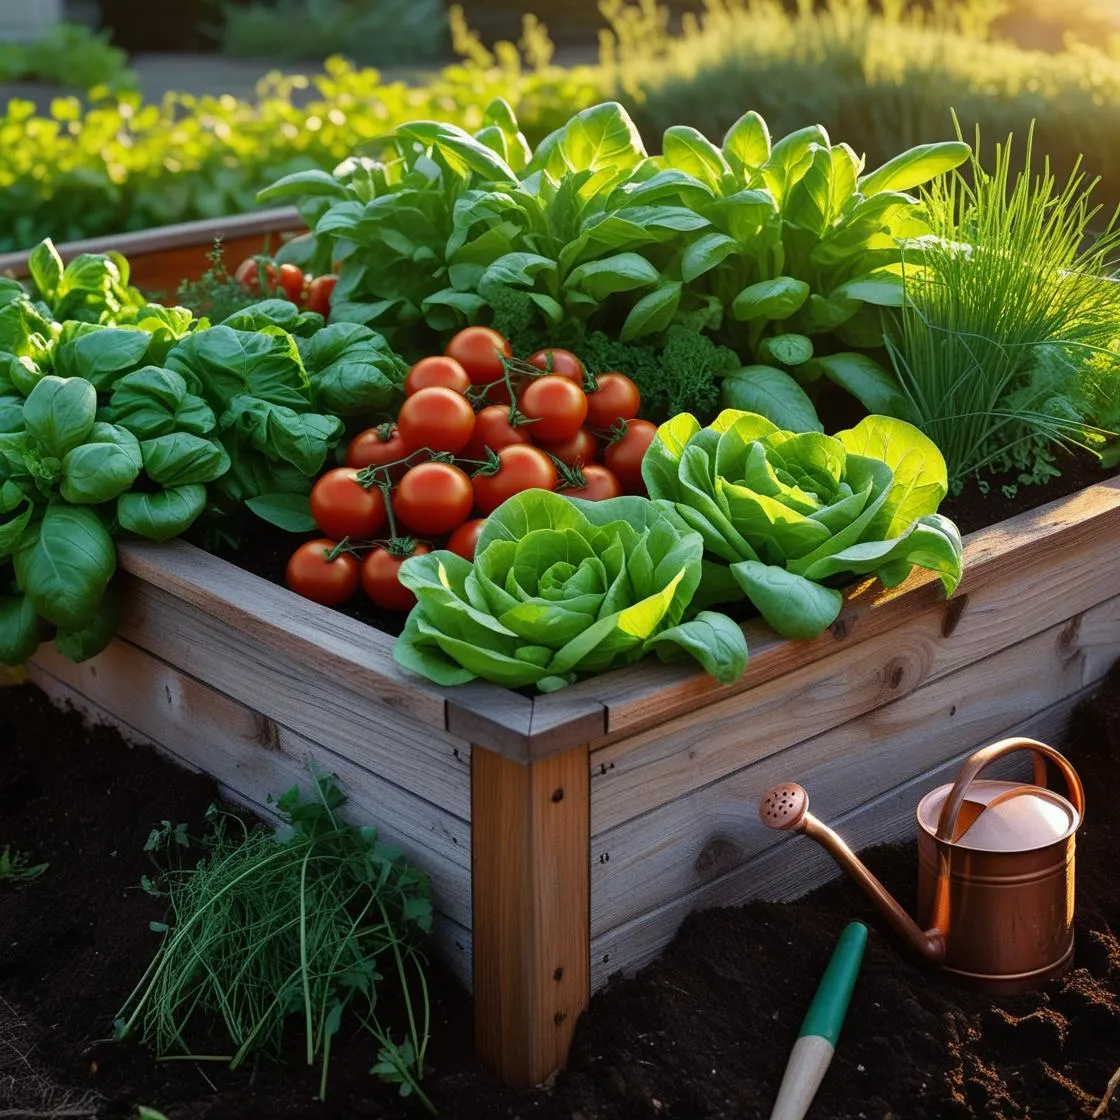
Conclusion 🌻
Congratulations! You now know how to build a raised garden bed and start enjoying the incredible benefits of this smart, efficient gardening method. It’s a rewarding weekend project that delivers fresh, homegrown produce for years to come.
Have you built your own raised bed? Share your creations and tips in the comments below